Note: You must have a carrier configured to use the SNPP protocol. For steps on how to configure a SNPP carrier, please see the "How to add an SNPP carrier" section.
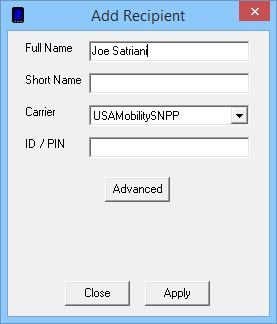
| 1) | Enter a Full Name for the recipient. |
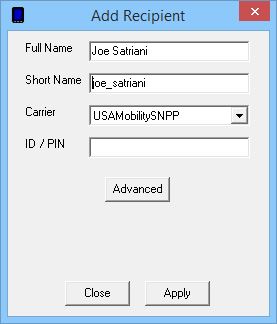
| 2) | Click inside the Short Name field to have the program automatically fill in the field. |
| 3) | From the Carrier dropdown list, select the carrier you have configured to use the SNPP protocol. |
| 4) | Enter the pager or cell phone number with no spaces or dashes. |

| 5) | Click the Advanced button. |
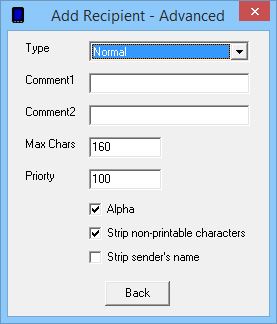
| 6) | Leave the Type as: Normal |
| 7) | If you wish to leave a note about this recipient, enter it in the Comment1 or Comment 2 fields. |
| 8) | The Max Chars field in the Recipient Settings determines the maximum number of characters you wish to send to this recipient. If this value is set higher than the Carrier Max Chars value, NotePager Pro will split long messages into multiple messages. |
| 9) | Set the Priority of the carrier. This can be set to a value from 1 to 100, with 1 representing the highest priority and 100 representing the lowest priority. The default value all carriers and recipients is: 100 |
| 10) | If the device you are sending to can receive both alpha and numeric characters, leave Alpha checked. If the device you are sending to can only receive numeric characters, uncheck Alpha. |
| 11) | Non-printable characters are things like carriage returns, line feeds, horizontal tabs and the like. If you do not want these characters to appear in messages sent to this recipient, leave 'Strip non-printable characters' checked. If you do want these characters to appear in messages sent to this recipient, uncheck 'Strip non-printable characters'. |
| 12) | If 'Strip sender's name' is checked, NotePager pro will not prefix your messages with the sender's name. |
| 13) | Click on Back. |
| 14) | Click on Apply. |
| 15) | Click on OK. |