PageGate currently supports using SQL Express and SQL Server 2017 and 2019 deployed both on local networks and on cloud based servers.
When using an SQL database hosted on a cloud server, if you enable 'Always Encrypted' in SQL, the PageGate Admin and GUI Client applications can be installed on any computer and given access to your PageGate server. This makes connecting remote workstations far easier as they can be given direct access.
These steps go over how to configure PageGate to use an SQL database.
Step 1: Create the SQL Database
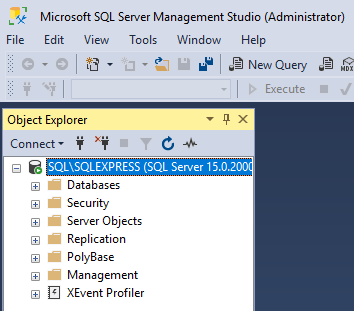
1)Run Microsoft SQL Server Management Studio
2)Right click Database, select 'New Database'
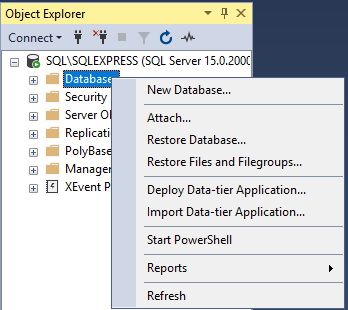
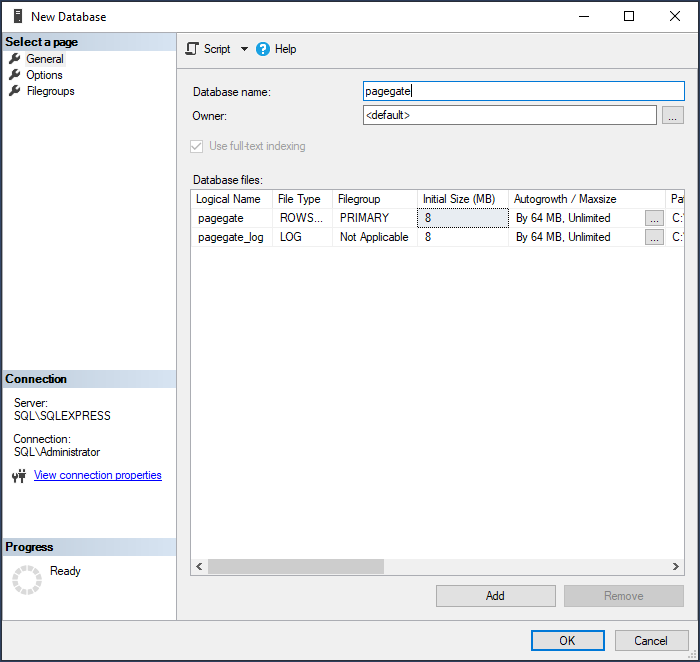
3)Name the database 'pagegate' and click OK.
Step 2: Create the Admin and User accounts for the SQL Server
Note: You can skip this step if all relevant users already exist as SQL Logins.
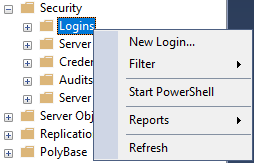
1)Expand the 'Security' section.
2)Right click Logins and select 'New Login'.
3)When using a domain controller/domain network, select 'Windows authentication'
 |
|
When using a workgroup network, select 'SQL Server authentication'.
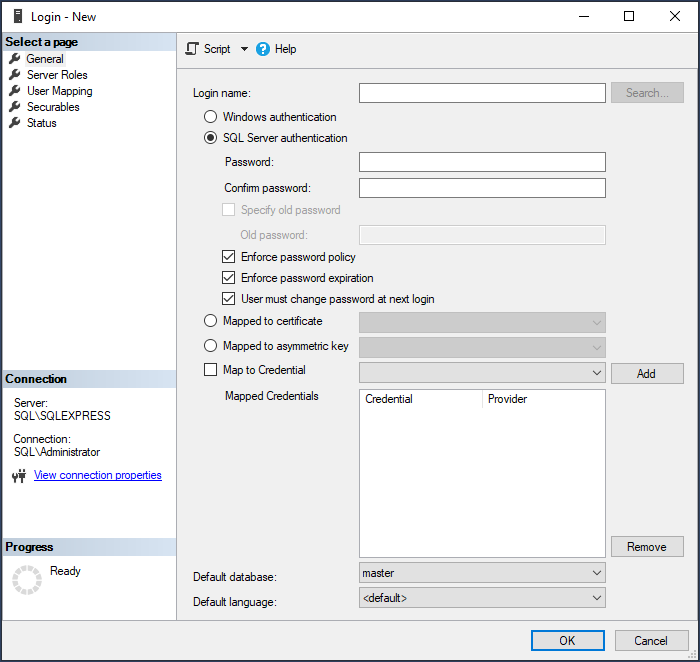
4)When using 'Windows authentication', set 'Login name' to a domain account.
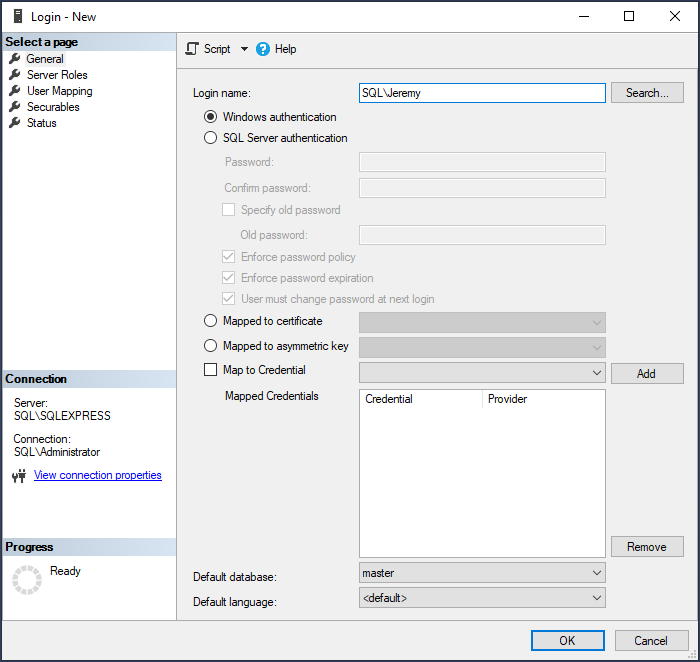
When using 'SQL Server authentication', specify the username and password you would like to use.
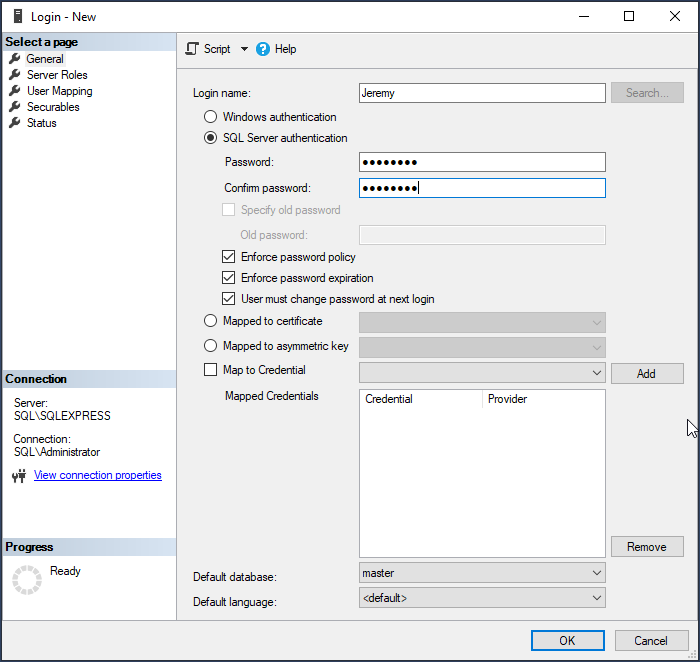
5)Click OK to add the new login.
Step 3: Create the SQL Admin and User accounts for the PageGate database
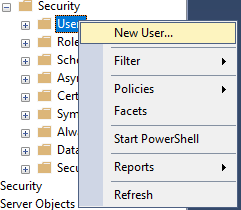
1)Go to Databases - pagegate - Security - Users.
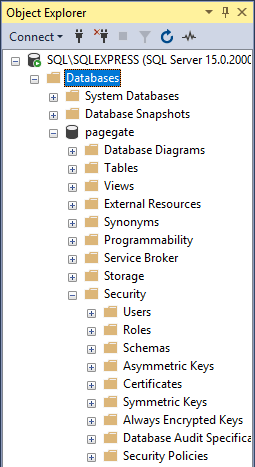
2)Right click Users and select 'New User'.
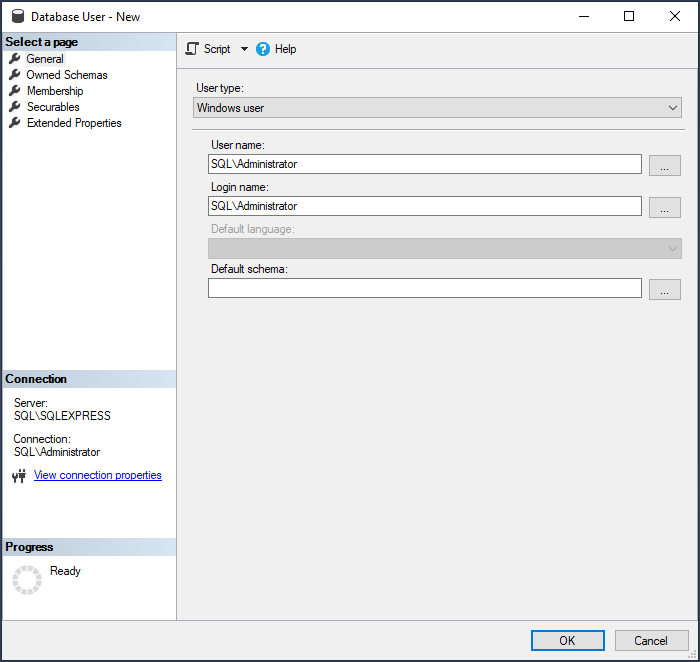
6)When using a domain network, set 'User type' to 'Windows authentication'.
When using a workgroup network, set 'User type' to 'SQL user with login'.
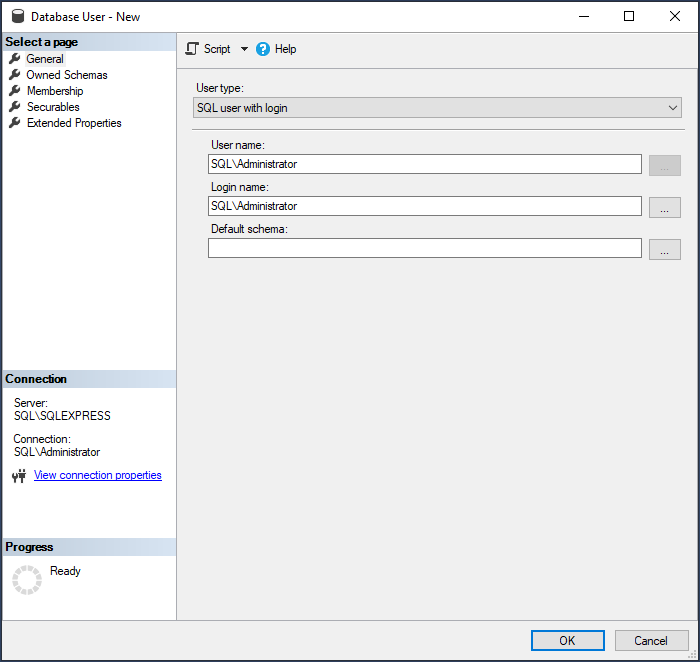
7)Set the username and login name to the account required.
8) Select 'Membership' on the left hand side.
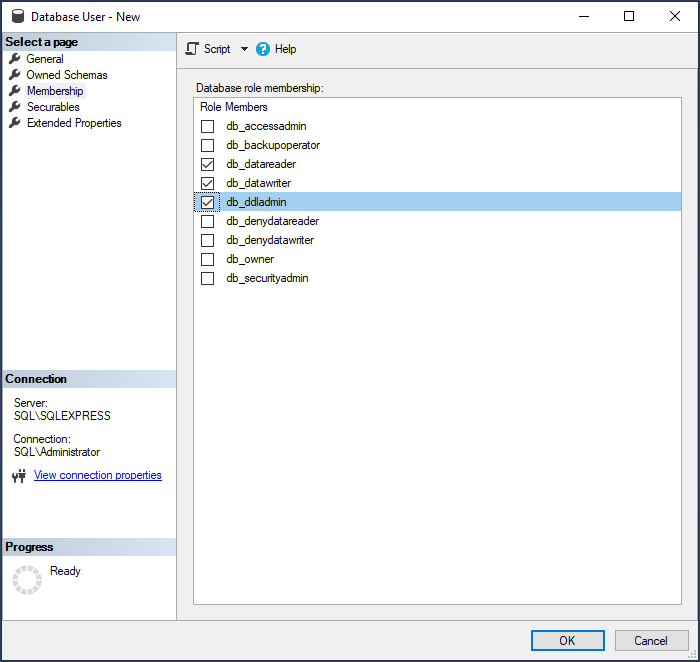
9) Your administrative accounts will need the db_datareader, db_datawriter and db_ddladmin memberships. Your non-administrative accounts will need the db_datareader and db_datawriter memberships.
10) Click OK.
Step 4: Configure SQL Server to use encrypted connection
1)Open the SQL Server Configuration Manager
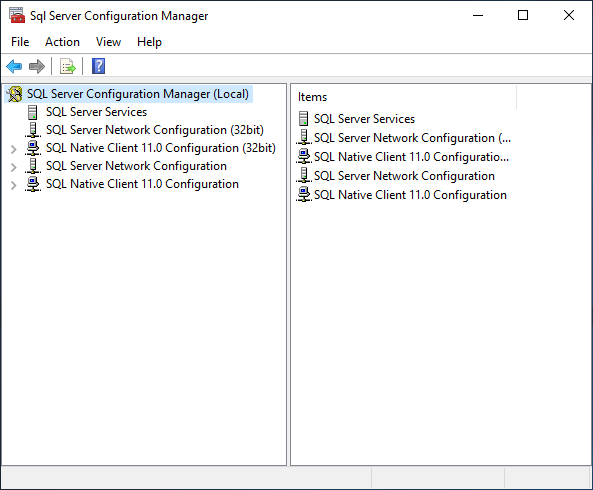
2)Expand SQL Server Network Configuration
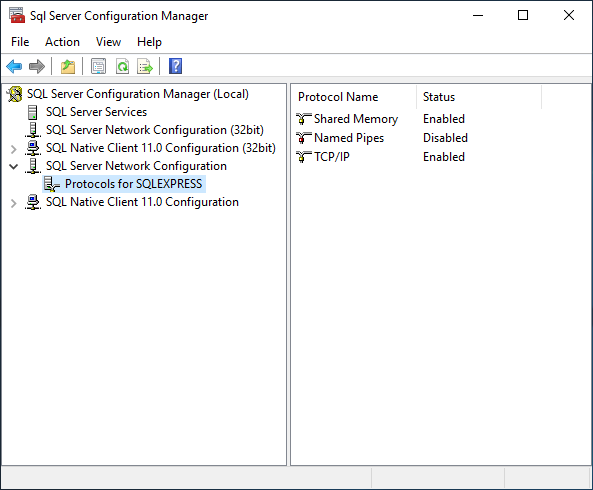
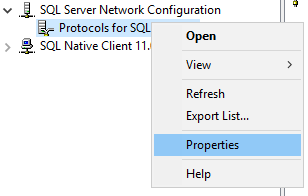
3)Right click Protocols for SQL (SQLEXPRESS, MSSQLSERVER, etc) and select 'Properties'.
4)Set 'Force Encryption' to yes.

5)Click OK.
Step 5: Install PageGate and configure the basic settings
1)Go through the steps to install the PageGate Server.
2) From your Start Menu or Desktop, right click on the shortcut for the PageGate Admin and select "Run as Administrator"
3) You should then be presented with the default setup screen. You can leave the values at their defaults or specify custom locations. Click Apply.
4) When it asks if you would like to create the Database, Archive and Log directories, say Yes.
5) You should then see a message indicating that a new database has been created and that PageGate must be restarted. Click OK.
6) Right click on the shortcut for the PageGate Admin and select "Run as Administrator".
7)Go to Database - SQL Server
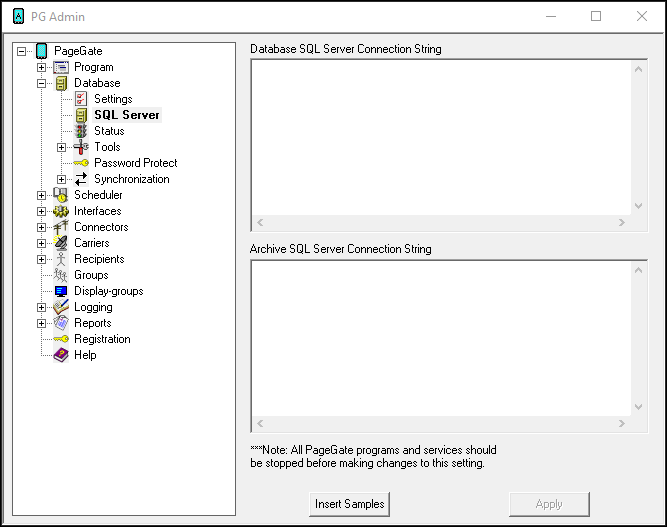
8)Click Insert Samples
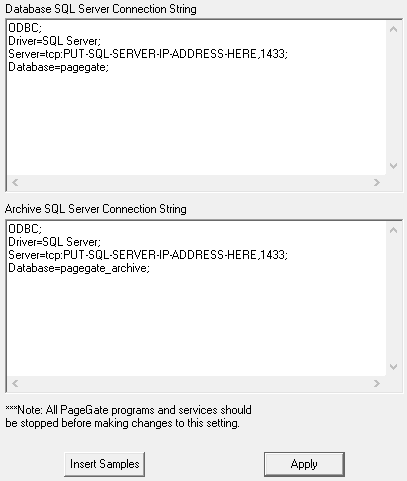
9)Replace 'PUT-SQL-SERVER-IP-ADDRESS-HERE' with the IP address or machine name of the SQL Server.
10) Replace the Database name with the value you assigned in SQL. If your SQL database names are 'pagegate' and 'pagegate_archive', no changes are required.
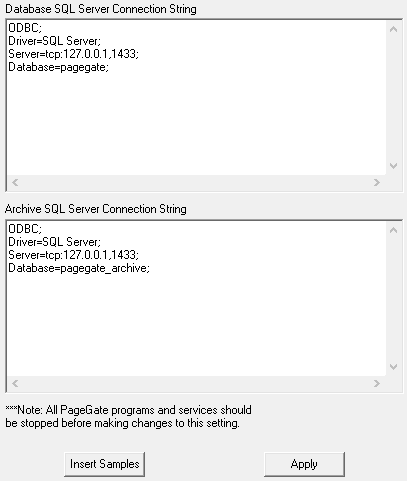
11) Click Apply, then click OK on the next prompt.
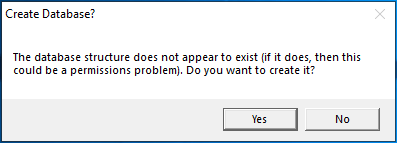
12) Right click on the shortcut for 'PG Admin' and select 'Run as Administrator'.
13) When asked if you want to create the database, click Yes.
You can now begin configuring the interfaces, output methods and recipients and groups.
We also recommend switching PageGate's run style to PG Service or Windows service.