This protocol allows PageGate to communicate with a webform, REST and Web APIs.
Since the API you interact with will likely require authentication, it's important to note there are multiple styles of authentication and the APIs you use will directly determine which to implement in PageGate.
Using the Username and Password in the carrier settings configure PageGate to use Basic HTTP Authentication, which is fairly standard.
Other forms of authentication, like authorization headers or required API keys in the XML/JSON/etc body, are configured in the POST carrier's template.
For example, another standard is to use the Authorization header which is typically in the format:
Authorization: <type> <credentials>
<type> and <credentials> will be defined in the receiving APIs documentation.
Some APIs use a custom header or authentication included in HTTP GET parameters or POST parameters.
Authorization can also be part of the POST body. For example, you might have to include API keys or something similar as part of the JSON or XML body.
1)Right click Carriers.
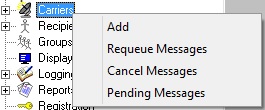
2)Select Add.
3)Select the HTTPPOST protocol.
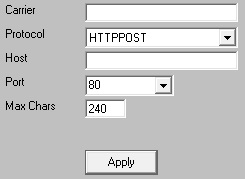
4)Enter a name in the Carrier field.
5)Set the host field to the URL of the API you wish to reach.
6)Set the Port field to the port required by the API or webform, typically 443.
7)Set the Max Chars to 160 for SMS or the maximum number of characters the API can handle in a single transmission. The maximum value of this field is 6000.
Note: The Carrier Max Chars field determines the number of characters that can be received in a single message. If the recipient Max Chars value is set higher than the carrier Max Chars value, PageGate will break up long messages based on the character limitation in the carrier. For example, if you have the carrier configured for 160 Max Chars and you set the recipient Max Chars value to 3000, then send a 400 character message to this recipient, PageGate will break up the 400 character count message in to two 160 character messages and one 80 character message. When the device receives the message, it will be prefixed with part 1/3, 2/3, 3/3 to indicate the multi-part nature of the message delivered.
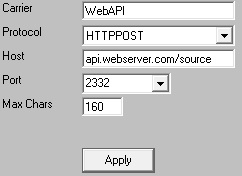
8)Click Apply.
9)Go in to the Template sub-section of your new HTTPPOST carrier.