CodeMessaging supports receiving messages by WCTP, SNPP and SMTP. As a result, we can configure PageGate to use the better and more direct WCTP method first, fail over to SNPP if something goes wrong and then have a final last-ditch attempt to deliver it as SMTP/Email.
Special Notes:
•Port 443 will need to be open for WCTP.
•Port 444 will need to be open for SNPP.
•To configure the SMTP failover, you will need to know your SMTP server address, port to connect on and required authentication credentials.
Step 1: Configure CodeMessaging-PRIMARY as a delivery method
1)Run PG Admin.
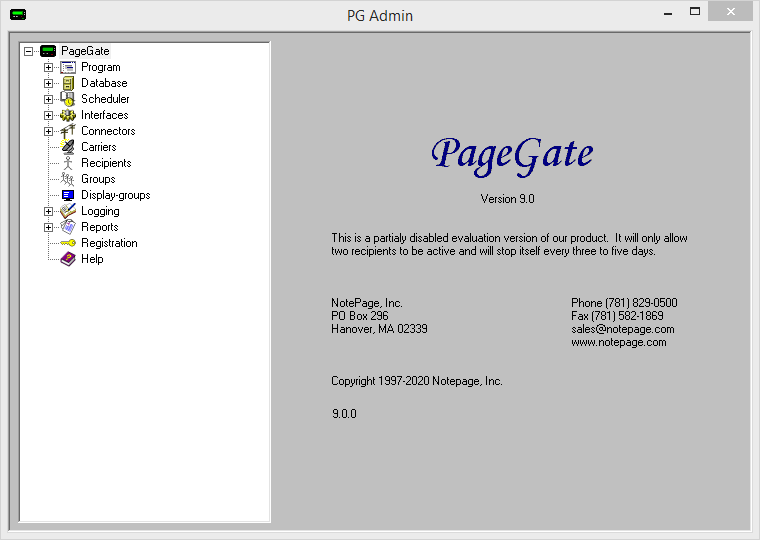
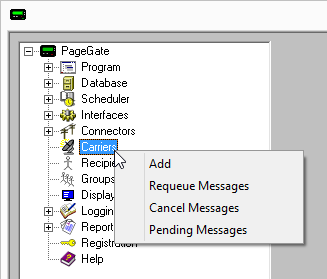
2)Right click Carriers, select Add
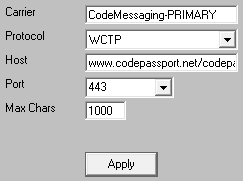
3)Specify the following and click Apply:
Carrier: CodeMessaging-PRIMARY Protocol: WCTP Host: www.codepassport.net/codepassport.asp?wci=getWCTP Port: 443 Max Chars: 1000 |
|
4)Go to Carriers - CodeMessaging-PRIMARY - Advanced
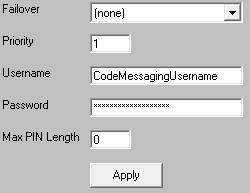
5)Specify the following:
Priority: 1 Username: Contact CodeMessaging to obtain this information.
Password: Contact CodeMessaging to obtain this information. |
|
6)Click Apply
Step 2: Configure CodeMessaging-SECONDARY as a delivery method
1)Right click Carriers, select Add

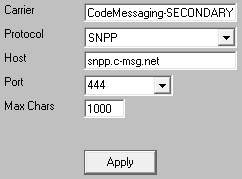
2)Specify the following:
Carrier: CodeMessaging-SECONDARY Protocol: SNPP Host: snpp.c-msg.net Port: 444 Max Chars: 1000 |
|
3)Go to Carriers - CodeMessaging-SECONDARY - Advanced
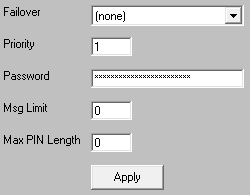
4)Specify the following:
Priority: 1 Password: Enter the CodeMessaging username and password values separated by a single space.
EXAMPLE: username password NPSupport PasswordGoesHere
Contact CodeMessaging to obtain your authentication credentials. |
|
5)Click Apply
Step 3: Configure CodeMessaging-FINAL as a delivery method
1)Right click Carriers, select Add

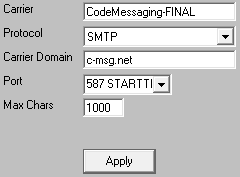
2)Specify the following:
Carrier: CodeMessaging-FINAL Protocol: SMTP Host: c-msg.net Port: Specify the port required by your SMTP server. Max Chars: 1000 |
|
3)Go to Carriers - CodeMessaging-FINAL - Advanced
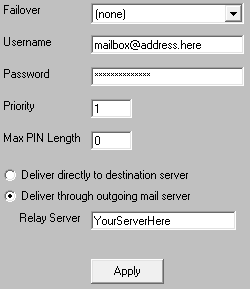
4)Specify the following:
Select the 'Deliver through outgoing mail server' option and enter your SMTP server address in the 'Relay Server' field.
For example, if you use Office365, you would use smtp.office365.com as the relay server address.
Specify the required username and password.
Set 'Priority' to: 1 |
|
5)Click Apply
6)Go to Carriers - CodeMessaging-FINAL - Template
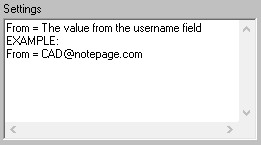
7)Specify the following in the 'Settings' section:
From = The value from the username field EXAMPLE: From = CAD@notepage.com |
|
8)Click Apply.
Step 3: Configure the failover system
1)Go to Carriers - CodeMessaging-PRIMARY - Advanced
2)Click the dropdown arrow next to 'Failover' and select: CodeMessaging-BACKUP
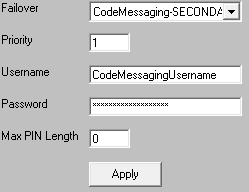
3)Click Apply
4)Go to Carriers - CodeMessaging-SECONDARY - Advanced
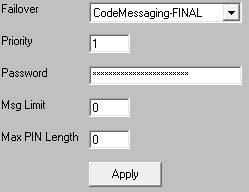
5)Click the dropdown arrow next to 'Failover' and select: CodeMessaging-FINAL
Step 4: Create Recipients tied to the CodeMessaging method of delivery
1) Right click Recipients, select Add.
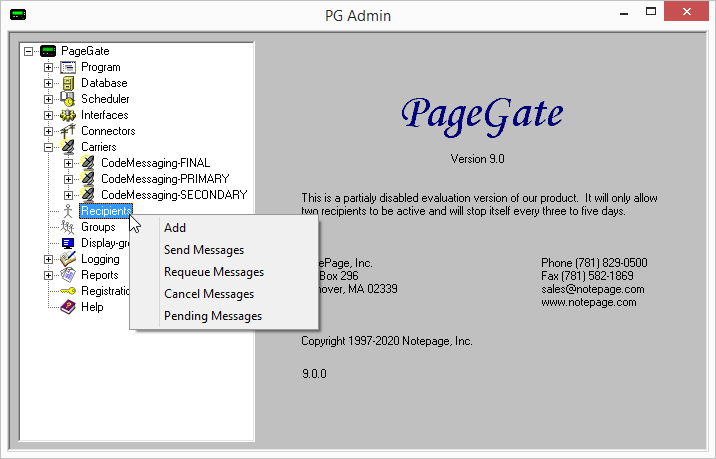
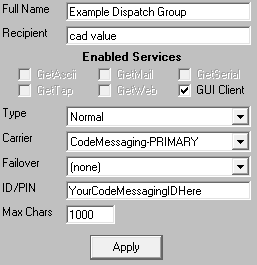
2)Specify the following:
Full Name: Describe the agency being messaged Recipient: This field is auto-populated and may need to be edited. When integrating with a CAD system, this field will need to reflect CAD's name.
For example, if CAD is going to dispatch 'Palentine Fire District 2' by calling on the name pfd2, that is the value you would use in this field. Type: Normal Carrier: CodeMessaging-PRIMARY Failover: See Failover Scenarios ID/PIN: The CodeMessaging messaging ID. Typically speaking, CodeMessaging will give you an email address per group you want to send to. The prefix of the email address, the part before the @, is what you'll use in the ID/PIN field.
For example, if your CodeMessaging ID is x3aAkdbn@c-msg.net, you would use x3aAkdbn in the ID/PIN field. Max Chars: 1000 |
|
3)Click Apply.
