Step 1: Create an Amazon Web Services Account
1)Go to https://aws.amazon.com/
2)Click an AWS Create Account
3)Enter the email address and password.
4)Enter payment information (required by Amazon)
5)Choose your support plan.
Step 2: Create an Access Key for PageGate to use
Creating an access key can be done by providing PageGate access to the root account and password or you can tie the AWS SNS permissions to a specific user account..
If you want PageGate to use the root account, you would do the following:
1)Log in to your AWS account.
2)In the upper right hand corner, click on your account's name and select 'My Security Credentials'
3)Click 'Create new Access Key'
4)Copy the 'Access Key ID' and 'Secret Access Key' values as we'll need both in PageGate.
If you want to grant the ability to use AWS SNS to an existing account, you would do the following:
1)Log in to your AWS account.
2)In the upper right hand corner, click on your account's name and select 'My Security Credentials'
3)On the left hand side, click 'Users'
4)Select the user in question.
5)Click 'Add Permissions'
6)Select 'Attach existing policies directly'
7)In the 'Filter policies' field, enter: SNS
8)Check 'AmazonSNSFullAccess'
9)Click Next.
10) Click 'Add Permissions'
11) Select the 'Security Credentials' tab for that user.
12) Click 'Create Access Key'
13) Copy the 'Access Key ID' and 'Secret Access Key' values as we'll need both in PageGate.
Step 3: Configure AWS SNS in PageGate
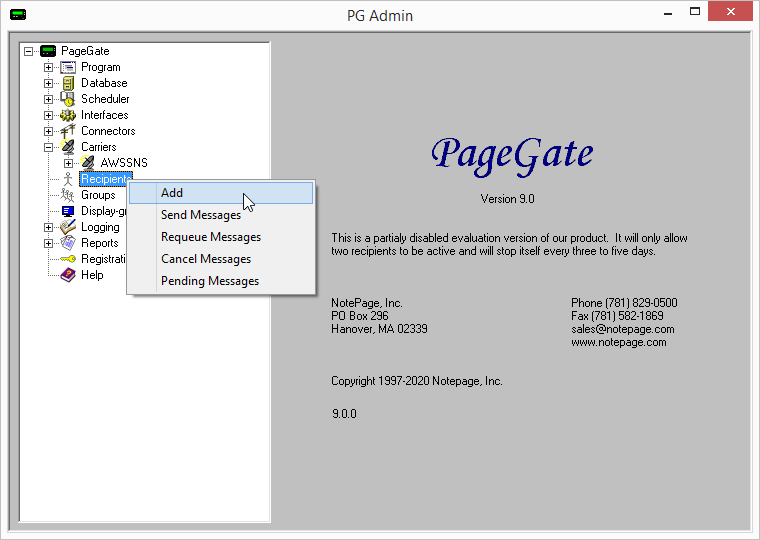
1)Run PG Admin.
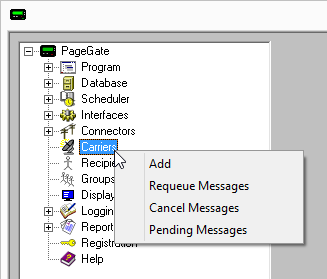
2)Right click Carriers, select Add
3)Specify the following:
Carrier: AWSSNS Protocol: AwsSns Host: Please see Amazon's SNS documentation https://docs.aws.amazon.com/sns/latest/dg/sns-supported-regions-countries.html The 'Endpoint' value is what you will use in the this field. Examples: sns.us-east-1.amazonaws.com sns.us-west-2.amazonaws.com Max Chars: 160 |
|
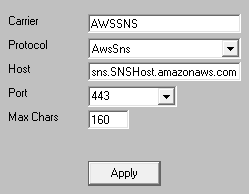
4)Click Apply to add the new delivery method.
5)Go to Carriers - AWSSNS - Advanced
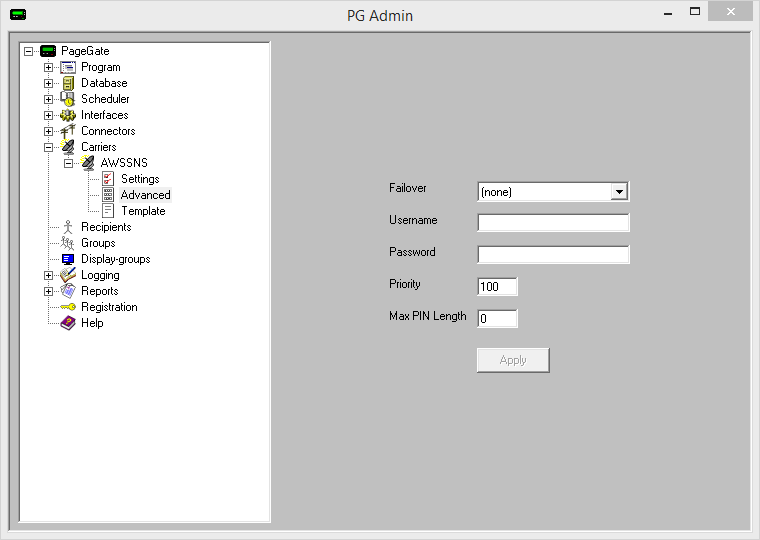
6)Enter the Access Key ID value in the Username field.
7)Enter the Secret Access Key value in the Password field.
8)Click Apply.
Step 4: Create Recipients tied to the AWSSNS method of delivery
1) Right click Recipients, select Add.
2)Specify the following:
Full Name: The name of the recipient Recipient: This field will automatically populate but can be edited and may ONLY contain alphanumeric characters, underscores and dashes.
Type: Normal Carrier: AWSSNS Failover: See Failover Scenarios ID/PIN: cell phone number, including country code. NOTE: For messaging in North America, it is imperative that you provide the 1 in front of the phone number. AWS SNS treats the first character of the phone number as the country code and you can unintentionally send international SMS if you do not provide the 1.
Max Chars: Specify the number of characters you want the ability to send to this recipient. If this value is higher than the carrier's "Max Chars" value, PageGate will break up long messages in to multiple blocks. |
|
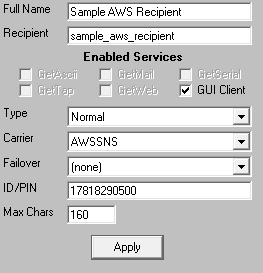
3)Click Apply.