So, let's say that you know you're going to have to type the same message over and over and over. Instead of doing that, you can create a preset to make your life easier.
Along the bottom of the NotePager Pro interface, you'll see these buttons.
![]()
These buttons allow you to configure preset messages. Here's how:
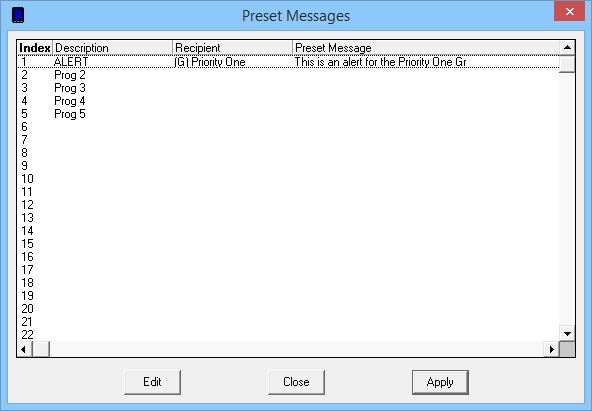
First, right click on one of the available preset message buttons to access the Preset Messages dialog.

Within this dialog, you can rename the text of the displayed button, specify a recipient or group that the preset message should default to send to and enter the text of your preset message.
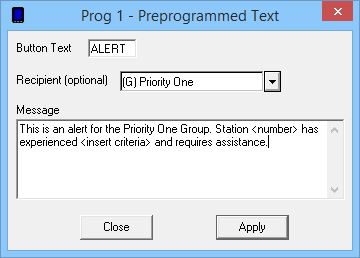
When you have finished specifying the modifications to your preset message, click on Apply.

To use your preset message, simply click on the preset button you wish to use.
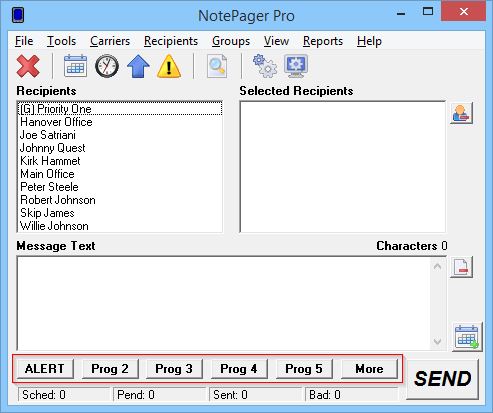
To use the example I created earlier, if I click on the ALERT button, it will automatically propagate the Selected Recipients and Message Text.

Then click on the Send button to deliver your message(s).
Displayed along the NotePager Pro Window are the buttons for the first five preset messages and a sixth button called More. Clicking on the More button will provide a list of all preset messages in the dialog below.